Testing your Helcim.js Integration
Test your integration with Helcim.js using our developer test accounts.
Testing your integration and card transaction flows with Helcim should be done without submitting real authorizations to the card networks, as this can have a negative impact on your production processing terminal and account.
In order to ensure your payments are not declined and that you do not receive error responses from Helcim.js, follow the applicable testing guidelines outlined below, based on your situation.
Testing on a developer test account is recommended when testing Helcim.js combined with the Payment API.
Testing on a developer test account
Step 1: Request a developer test account
If you do not have a developer test account already, please review our Developer Testing documentation to get started.
Step 2: Configure your Helcim.js for testing
When testing Helcim.js on a developer test account, the test status of payments is set at the processing terminal level in the Helcim system.
- You do not need to enable Test Mode in your Helcim.js Configuration.
- You do not need the HTML input field with the id of
testpassing a value of 1 in your HTML code. - Your will need a valid SSL certificate for your Helcim.js test page.
Step 3: Process your test payments using developer test cards
Once you have your test account created, you can begin processing your test payments using the developer test cards outlined in our documentation.
When used for a Helcim.js integration on a test account with no test mode or test flags, these test cards will be tokenized and Helcim.js will return a valid cardToken to you in the transaction response that can be used through the Payment API.
If used on a production Helcim account, these test cards would decline when they hit the live card networks through the Payment API, as they are not real credit cards.
Testing on a Live Account
We recommend trying to keep all testing on your developer test account, however testing on a live account can be done if your Helcim.js is configured correctly.
Step 1: Switch your Helcim.js Configuration to Test Mode
On a live Helcim account you can begin configuring your test implementation of Helcim.js following the instructions outlined in our Creating a Helcim.js configuration documentation.
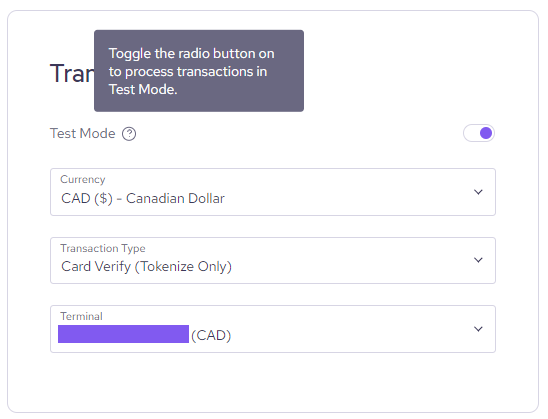
Create your Helcim.js Configuration, then simply toggle on Test Mode. This will allow you to process test transactions through Helcim.js once you have your corresponding test flag in your HTML.

Step 2: Create your Test HTML Element for Helcim.js
Once you have configured your Helcim.js Configuration and API Access Configuration, you can proceed to setting up the HTML for your Helcim.js implementation following the instructions outlined in our Integrating with Helcim.js documentation.
When integrating with Helcim.js to process test payments, you should ensure that you have created a corresponding input field for your test flag. This field should have an id of test and a value of "1" while test mode is enabled for your Helcim.js Configuration.
This test element should be inside the Form element with the id of "helcimForm".
// Example test mode input element
<input type="hidden" id="test" value="1">
Step 3: Process your Test Payments Using Developer Test Cards
Now that you have test mode enabled for your Helcim.js Configuration and have created your test HTML element for your Helcin.js implementation, you can begin processing your test payments using the developer test cards outlined in our documentation.
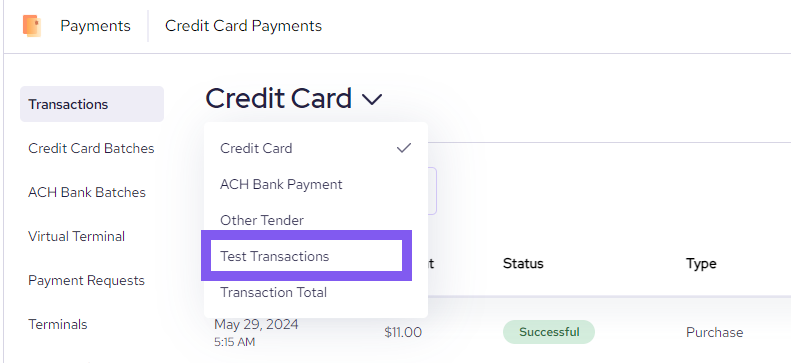
Payments processed in test mode will appear on your Test Transactions list. You can view this list by selecting Payments, then switching from Credit Card to Test Transactions.

Updated 5 months ago